IRIDOLOGY CONSULTATIONS
OPTION 1:
Live Skype video consultation (Recommended)
Indepth consultation with Dr Monika, includes:
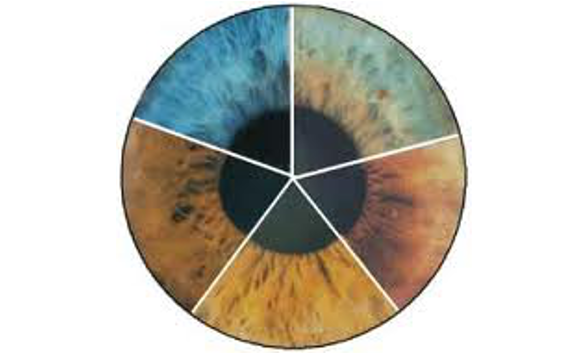
- Identifying your constitution.
- Understanding your constitution and how to best manage your health.
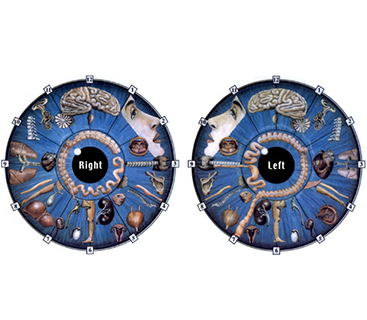
- Analysis of your left and right iris.
- Recommended treatment for identified areas. (Homeopathic, Natural remedies and diet)
45 minute consultation
A recording so that you can review all health aspects discussed at your leisure.
OPTION 2:
Video report
Personalised recorded Video report of Dr Monika analysing your eyes. Includes:
- Identifying your constitution.
- Understanding your constitution and how to best manage your health.
- Analysis of your left and right iris.
- Recommended treatment for identified areas. (Homoeopathic, Natural remedies and Diet)
Follow up consultations can be scheduled.
BOOK YOUR ONLINE CONSULTATION TODAY
You can have your own iridology analysis/consultation in just 4 easy steps. How it works:
HOW TO PHOTOGRAPH YOUR IRIS
To take the clearest photos, set your camera to MACRO and use natural daytime indoor lighting, with a flash. Minimum resolution of 2208 x 1248 (2.5Mb) or higher is required.
Or ask your local photo shop to assist.
STEP 1:
Iris Photos with a Digital Camera
- Use the Macro setting on the camera.
- Set the resolution to 2784 x 1568 or 2208 x 1248. (Fine)
- Turn on the Flash.
- Use indoor daylight.
- Stand sideways from a window to avoid glare.
- Steady the camera, either with a freind assisting or by using a tripod. A timer also works well.
- Make sure your entire iris is visible (hold the upper and lower eyelids open).
- Take several singe shot photos of each iris and select the best.
- Make sure your eye is close to the camera. When using the Macro setting, you can be 4-5 inches from the lens.
STEP 2:
Checking Photos for Lighting and Clarity
- Use the screen of your camera to Zoom in on the iris.
- Be sure that the iris image is clear (as per examples below); if not, steady the camera and retake the photographs.
- If the iris image does not have the required detail, try again.
- If the entire iris is not visible, try again.
- If there is significant glare on the iris, turn your body slightly away from the window and try again.
STEP 3:
Attaching Final Iris Photo Results
- You may crop the photos so only the eye is visible if you need to reduce the file size.
- Alternatively, attach the entire photo.
- You can attach your clearest 2 photos of the Left Eye.
- You can attach your clearest 2 photos of the Right Eye.
Examples Of Clear & Usable Photos:
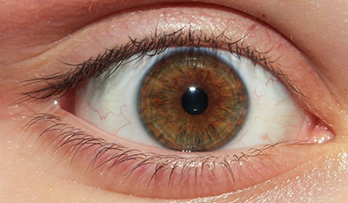
Clear view of the iris, which is looking straight into the camera.

Clear view of the full, round iris area.

Good, clear photo with no reflection in the iris area, but rather in the pupil area.
Examples Of Not Usable Photos:
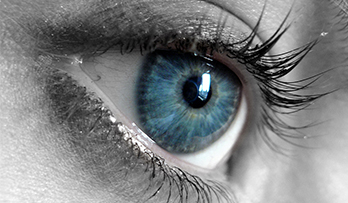
Do not look away from the camera, but rather straight into the camera.
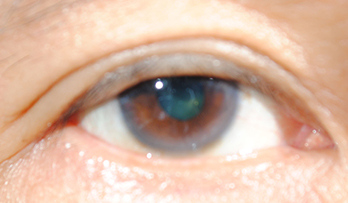
It's important that the structure of the iris is in the photo. Also do not submit a blurry photo.

Be sure to eliminate any reflections that may occur in the iris area when taking the photo.
STEP 4:
Skype address
- A personal consultation is interactive and preferable
- If Skype is not possible, a recorded Video Report will be made available to you
BOOK AN ONLINE CONSULTATION TODAY
You can now book your iridology consultation online.

